Currency

Are you over 18 years old?
Please confirm you are 18+ years old, and that using offered products is legal in your country.
Please confirm you are 18+ years old, and that using offered products is legal in your country.
 585-842-7333
 249-438-7333

Germinating weed seeds can be intimidating if you've never done it before, but it's simpler than you might think. That said, a few small mistakes can set you back weeks and cost you seeds that would have been viable otherwise. Get your plants off to the right start with this guide on how to germinate cannabis seeds right in your own home!
Before you germinate your cannabis seeds, gather everything you'll need. Setting up for cannabis seed germination in Canada isn’t complicated, but getting your supplies in advance means you won’t be scrambling for supplies when time is tight.
Here's what you’ll need:
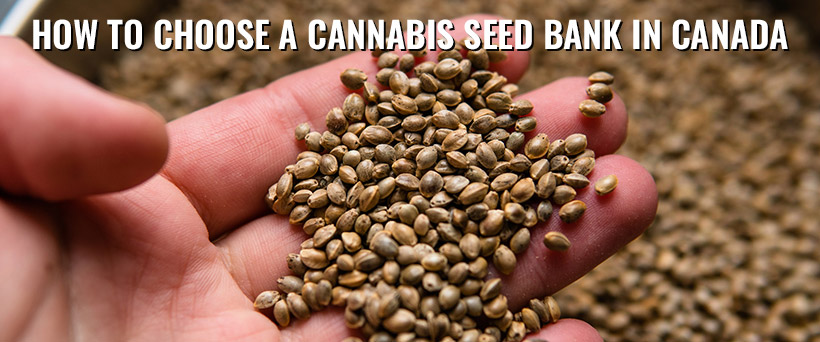
Get seeds from a reputable source to avoid wasting time. True North Seed Bank's feminized seeds are a good starting point for new growers, as they eliminate the guesswork of identifying and removing male plants.
Municipal tap water contains chlorine, which can inhibit seed germination rates. You can get distilled water at most grocery stores and drug stores.
You’ll need these if you’re using the paper towel germination method. The type of paper towel you can get at the grocery store is fine, but avoid those that are heavily embossed or that have scents or other chemical treatments.
You’ll start your seedlings off in these before moving them outside or into larger pots. You can get these at garden centres, and they’re usually available at dollar stores starting in early spring.
Look for seedling-specific potting mix. This medium is light and airy to give seeds the best chance to germinate and grow. Avoid mixes that are already infused with nutrients or fertilizers, as these can burn seedling roots.
Choose a spot in your home where temperatures are reliably between 20 and 25°C. If you don’t have a good place for that, you can use a seedling heat mat (available online for $20 to $30) or put them on top of your fridge. Avoid germinating your weed seeds in a window where drafts could be an issue, or near a direct source of heat such as a radiator.
The paper towel method is the most widely used germination technique among home growers. Here's how to germinate cannabis seeds using this simple method:
You should see a small white taproot emerge within two to seven days. Once the taproot reaches about one centimetre in length, your seed is ready to transplant.
Water soaking is a useful first step for seeds with harder shells or older stock that may be slightly dried out.
Direct-to-soil germination skips the intermediate steps. This method reduces transplant stress, but it's harder to monitor because you won’t know if the seed has germinated until the seedling breaks the surface. This is how to germinate cannabis seeds using the direct-to-soil method:
Maintain a temperature of 20 to 25°C throughout the germination period. Temperatures below 18°C slow seed germination rates, and anything above 28°C can dry out your paper towels or soil and stress the seed. A seedling heat mat with a thermostat is a good investment if your home runs cool, and it will reduce the effort of constantly monitoring the temperature.
The humidity in your grow environment should be high enough to keep your germination medium moist without becoming waterlogged. If you're using the paper towel germination method, the covered plate setup will do most of this work for you.
Even with high-quality, viable seeds and the right setup, germination doesn't always go smoothly. Here are the most common issues and how to address them:
Temperature is the most common problem when a seed fails to sprout. If the environment is too cool, move the setup somewhere warmer and give it a few more days before discarding the seeds.
The appearance of mould usually means the towels are too wet or there’s too little airflow. Replace the paper towels, making sure to wring them out more thoroughly, and ensure the cover isn't completely airtight.
Mist the seed lightly with water to soften the shell so that the seedling can shed it on its own. Don’t remove it manually unless it's clearly preventing growth.
If a seed shows no activity after ten days under good conditions, it may not be viable. This is rare with quality seeds, but it does happen. Starting with feminized seeds or autoflowering seeds from a reputable seed bank reduces this risk.
Now that you know how to germinate cannabis seeds, it’s time to transplant them to soil:
You should see the seedling emerge within a few days. With this, the weed seed germination phase is over, and you’re ready to move on to the next phase of pot-plant parenting!
Ready to get your grow on? You can depend on True North Seed Bank - a trusted, Canada-based international supplier of marijuana seeds - to provide you with the best quality products on the market. Browse the full range of cannabis seeds and find the genetics that match your setup, your climate, and your preferences.
We provide discreet, secure shipping at one low flat rate regardless of how many seeds you buy, with free shipping for orders over $165 CAD. For questions about our inventory, issues with shipping or delivery, or to share your story, feel free to contact us.
Most cannabis seeds will show a taproot within two to seven days using the paper towel method under ideal conditions of 20 to 25°C. If nothing has happened after ten days, the seed may not be viable.
It's better to use purified or distilled water. Municipal tap water contains chlorine, which can inhibit germination. Distilled water is inexpensive and widely available at grocery and drug stores across Canada.
The paper towel method lets you monitor the process more easily, so you can catch problems early. Direct-to-soil germination reduces transplant stress, but it’s harder to troubleshoot if something goes wrong.
Lightly mist the seed with water to soften the shell and allow the seedling to shed the shell on its own. Only remove the shell manually if it’s clearly preventing the seedling from opening up.
Not necessarily, but it can help if your grow environment is cool. A seedling heat mat costs $20 to $30 and maintains a steady temperature without constant monitoring. Alternatives include the top of your fridge or a warm cupboard near (but not directly next to) a heat source.